Contents
How to Paint Plywood Tips and Techniques for a Beautiful Finish

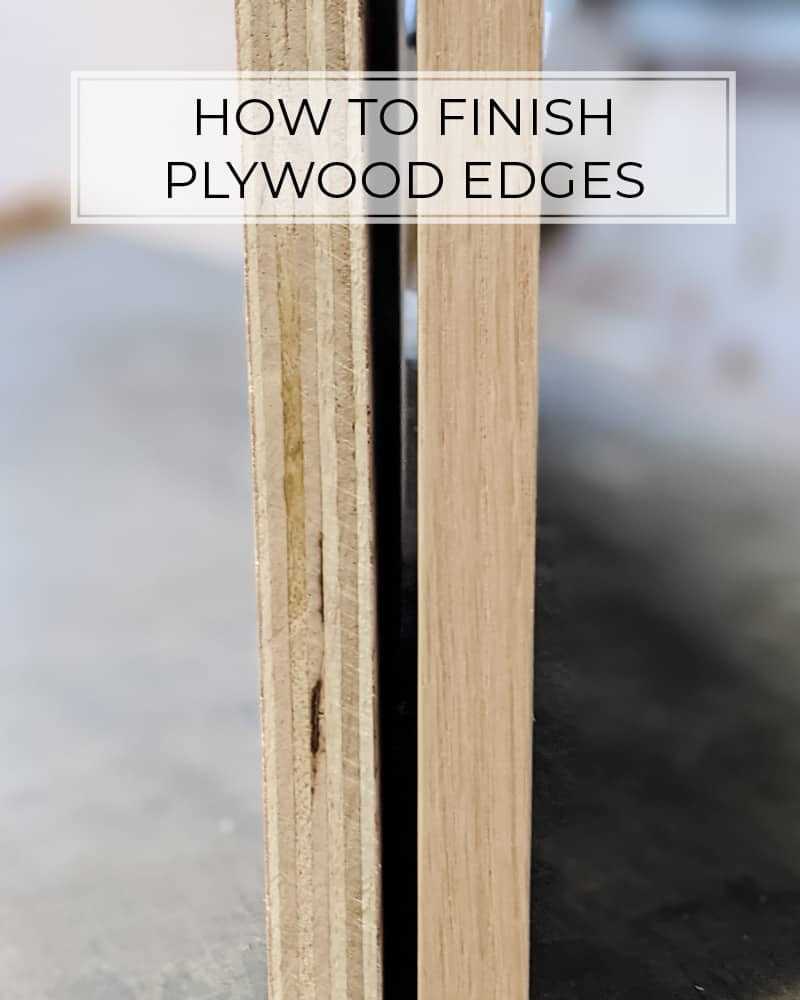
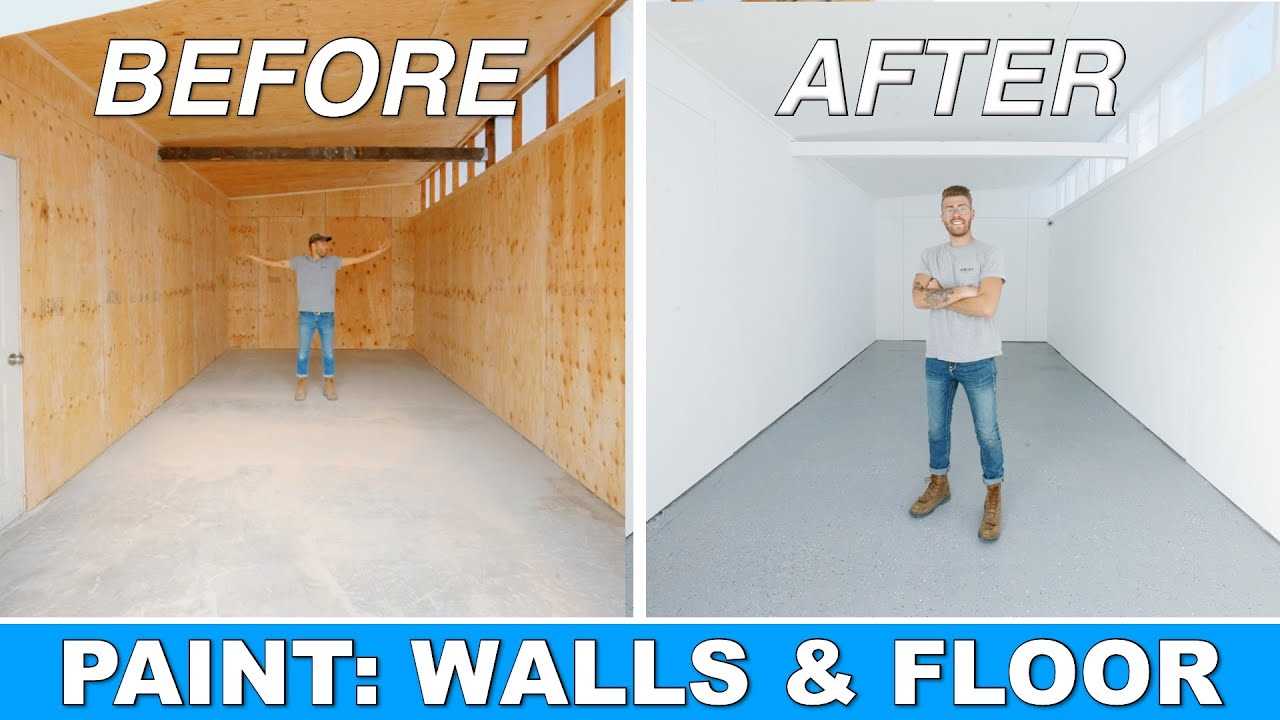
Plywood is a versatile and cost-effective material that is commonly used in construction, furniture making, and various DIY projects. While plywood is known for its durability, it is often left unfinished or covered with a layer of paint to enhance its appearance and protect it from moisture and other elements. If you are looking to paint plywood, it is important to follow the right techniques to achieve a beautiful and long-lasting finish.
Before you start painting plywood, it is essential to properly prepare the surface. Begin by sanding the plywood with a medium-grit sandpaper to smooth out any rough areas or imperfections. This will create a smooth surface for the paint to adhere to. After sanding, wipe down the plywood with a damp cloth to remove any dust or debris.
Once the plywood is properly prepared, it is time to choose the right type of paint. For plywood, it is recommended to use a high-quality primer and paint that are specifically designed for wood surfaces. These paints are formulated to provide excellent coverage and adhesion, ensuring a beautiful and durable finish. Additionally, consider using a paint with a sheen that matches your desired look. A gloss or semi-gloss finish will provide a shiny and reflective surface, while a satin or matte finish will give a more subtle and muted appearance.
When applying the paint, it is important to use the right technique to achieve a smooth and even finish. Start by applying a thin and even coat of primer to the plywood, using a brush or roller. Allow the primer to dry completely before applying the paint. When painting the plywood, work in small sections and use long, smooth strokes to ensure an even application. If necessary, apply a second coat of paint for better coverage and color saturation.
In conclusion, painting plywood can be a rewarding and enjoyable project that can transform the look of your furniture or DIY creations. By properly preparing the surface, choosing the right paint, and using the correct painting techniques, you can achieve a beautiful and long-lasting finish that will enhance the appearance of your plywood and protect it for years to come.
Preparing the Plywood

Before painting plywood, it is important to properly prepare the surface to ensure a smooth and durable finish. Follow these steps to prepare your plywood for painting:
- Clean the surface: Start by cleaning the plywood to remove any dust, dirt, or grease. Use a mild detergent and water solution to scrub the surface with a soft brush or sponge. Rinse thoroughly and allow it to dry completely.
- Repair any imperfections: Inspect the plywood for any cracks, holes, or imperfections. Fill these areas with wood filler and smooth them out with sandpaper once dry. This will ensure a smooth and even surface for painting.
- Sand the plywood: Sanding the plywood will help to create a better bond between the surface and the paint. Use a medium-grit sandpaper to sand the entire surface, going with the grain of the wood. This will remove any roughness or unevenness and provide a smooth surface for painting.
- Remove dust: After sanding, use a tack cloth or a damp cloth to remove any dust or debris from the surface. This will help to prevent any particles from getting trapped in the paint and affecting the finish.
- Prime the plywood: Applying a primer before painting will help to seal the wood and create a smooth surface for the paint to adhere to. Choose a primer that is suitable for plywood and apply it evenly using a brush or roller. Allow it to dry completely before proceeding with the painting process.
By properly preparing the plywood before painting, you can ensure a beautiful and long-lasting finish that will enhance the appearance of your project.
Cleaning the surface

Before starting to paint plywood, it is important to properly clean the surface to ensure a smooth and beautiful finish. Here are some tips for cleaning plywood:
- Remove any dirt or dust: Use a dry cloth or brush to remove any dirt or dust from the plywood surface. This will help the paint adhere better.
- Wash with mild soap and water: If the plywood surface is particularly dirty, you can wash it with a mild soap and water solution. Use a sponge or soft cloth to gently scrub the surface and remove any stains or grime. Rinse with clean water and allow the plywood to dry completely before painting.
- Remove any grease or oil: If there are any grease or oil stains on the plywood, use a degreaser or a solution of vinegar and water to remove them. Apply the degreaser or vinegar solution to a clean cloth and gently rub the stained area. Rinse with clean water and dry the plywood before painting.
- Repair any damaged areas: Inspect the plywood surface for any cracks, holes, or other damage. Use wood filler or putty to repair these areas. Follow the manufacturer’s instructions for applying and drying the filler or putty before painting.
By properly cleaning the plywood surface before painting, you can ensure a smooth and long-lasting finish that will enhance the overall appearance of your project.
Filling in any gaps

Before you start painting your plywood, it’s important to fill in any gaps or cracks in the surface. This will ensure a smooth and even finish.
Here are some tips for filling in gaps:
- Clean the surface: Start by cleaning the plywood surface to remove any dust or debris. This will help the filler adhere better.
- Choose the right filler: There are different types of fillers available, such as wood filler or spackling compound. Choose a filler that is suitable for plywood and can be sanded smooth.
- Apply the filler: Using a putty knife or a spatula, apply the filler to the gaps and cracks. Make sure to fill them completely and level it with the surface.
- Sand the filled areas: Once the filler has dried, use sandpaper to smooth out the filled areas. Sand in a circular motion until the surface is even and seamless.
- Remove dust: After sanding, wipe away any dust or debris from the surface using a clean cloth. This will ensure a clean painting surface.
By filling in any gaps in your plywood before painting, you will achieve a professional-looking finish that enhances the overall appearance of the project.
Sanding the plywood

Sanding is an essential step in the painting process to ensure a smooth and even finish on plywood. Here are some tips for sanding plywood before painting:
- Clean the surface: Before sanding, make sure the plywood surface is free from dust, dirt, and any other debris. Use a clean cloth or a vacuum cleaner to remove any loose particles.
- Select the right sandpaper: Choose a sandpaper with a medium grit, such as 120 or 150, for initial sanding. This will help to remove any rough spots or imperfections on the plywood surface.
- Sand in the direction of the grain: Always sand in the direction of the grain to avoid damaging the plywood. Sanding against the grain can cause splintering and create an uneven surface.
- Use smooth, even strokes: Apply firm but gentle pressure when sanding the plywood. Use smooth, even strokes to ensure an even sanding and avoid creating grooves or uneven areas.
- Check for smoothness: After sanding, run your hand across the plywood surface to check for smoothness. If you feel any rough spots or uneven areas, continue sanding until the surface feels smooth to the touch.
- Clean the surface again: Once you have finished sanding, clean the surface again to remove any sanding residue. Use a clean cloth or a vacuum cleaner to ensure the surface is free from dust.
By following these tips, you can ensure that your plywood is properly sanded and ready for painting. Sanding helps to create a smooth and even surface, which will result in a beautiful finish when you apply the paint.
Video:How to Paint Plywood Tips and Techniques for a Beautiful Finish
#936 POP your POURS with a COLORED Base – WOW!
What Kind of Finish Should You Use? | WOOD FINISHING BASICS
What Finish Should I Use? | Woodworking Beginner Tips
99% of Beginners Don’t Know These 5 Wood Finishing Secrets!
Hello, I am Beverly J. Sanders, the voice behind the diverse articles you come across on styves.co.za. My passion lies in exploring the nuances of home improvement and sharing tips that can help you transform your living space into a haven of comfort and style. From the latest trends in home decor to practical cleaning advice, I cover a broad spectrum of topics to cater to a wide variety of interests.
In my recent works, I have delved into the advantages of incorporating a horizontal Murphy bed into your home to save space without compromising on design and functionality. I also explored the benefits of having a free-standing electric fireplace that not only adds warmth to your home but also brings a sleek and modern design to any living space. My articles are a rich resource, offering insights into different products and home improvement strategies that can enhance the quality of your life.
I believe in the power of details; a belief that reflects in my comprehensive guides where I discuss even the overlooked aspects of home decor, such as the impact of baseboard trim in enhancing the overall look and feel of your home. I am constantly on the lookout for innovative solutions and products that can add value to your home and life.
Join me in my exploration as I continue to bring you the latest trends, tips, and insights in the home improvement world. Let’s create a home that is not just a place to live, but a reflection of style and personality.