Contents
Everything You Need to Know About Door Shims | The Ultimate Guide

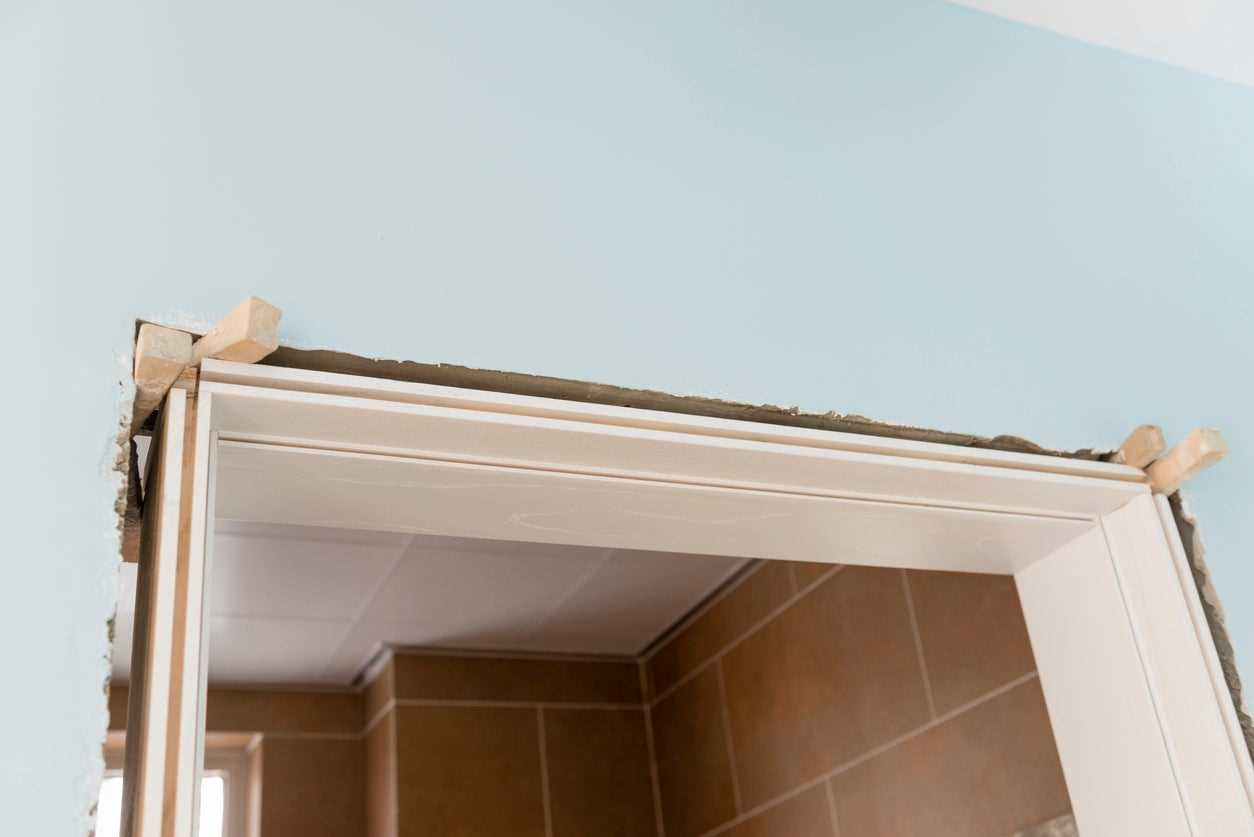
When it comes to door installation and alignment, one of the most important tools you need to have in your arsenal is door shims. These small, often plastic, pieces play a crucial role in ensuring that your door is properly aligned and functions smoothly. In this ultimate guide, we will cover everything you need to know about door shims, from their purpose and types to their installation and adjustment.
Door shims are thin pieces of material, usually made of wood or plastic, that are used to fill gaps and provide support during the door installation process. They are specifically designed to help level and align the door frame, ensuring that the door opens and closes smoothly without any sticking or rubbing. By placing shims in strategic locations, you can make fine adjustments to the door’s position and eliminate any unevenness or gaps.
There are different types of door shims available, including tapered shims, horseshoe shims, and composite shims. Tapered shims are wider at one end, which allows for easy adjustment and leveling. Horseshoe shims, as the name suggests, have a horseshoe-like shape and are ideal for filling larger gaps. Composite shims are made of a combination of materials and are known for their durability and resistance to moisture.
Installing door shims requires precision and attention to detail. It is important to place the shims correctly, ensuring that they provide adequate support and alignment. Once the shims are in place, you can make further adjustments by tapping them gently with a hammer or using a pry bar to add or remove shims as needed. It is crucial to test the door’s movement and make any necessary adjustments before finalizing the installation.
In conclusion, door shims are essential tools for achieving proper door alignment and installation. Whether you are a DIY enthusiast or a professional, understanding the purpose and types of shims, as well as the correct installation and adjustment techniques, will ensure that your doors function flawlessly for years to come.
What are Door Shims?
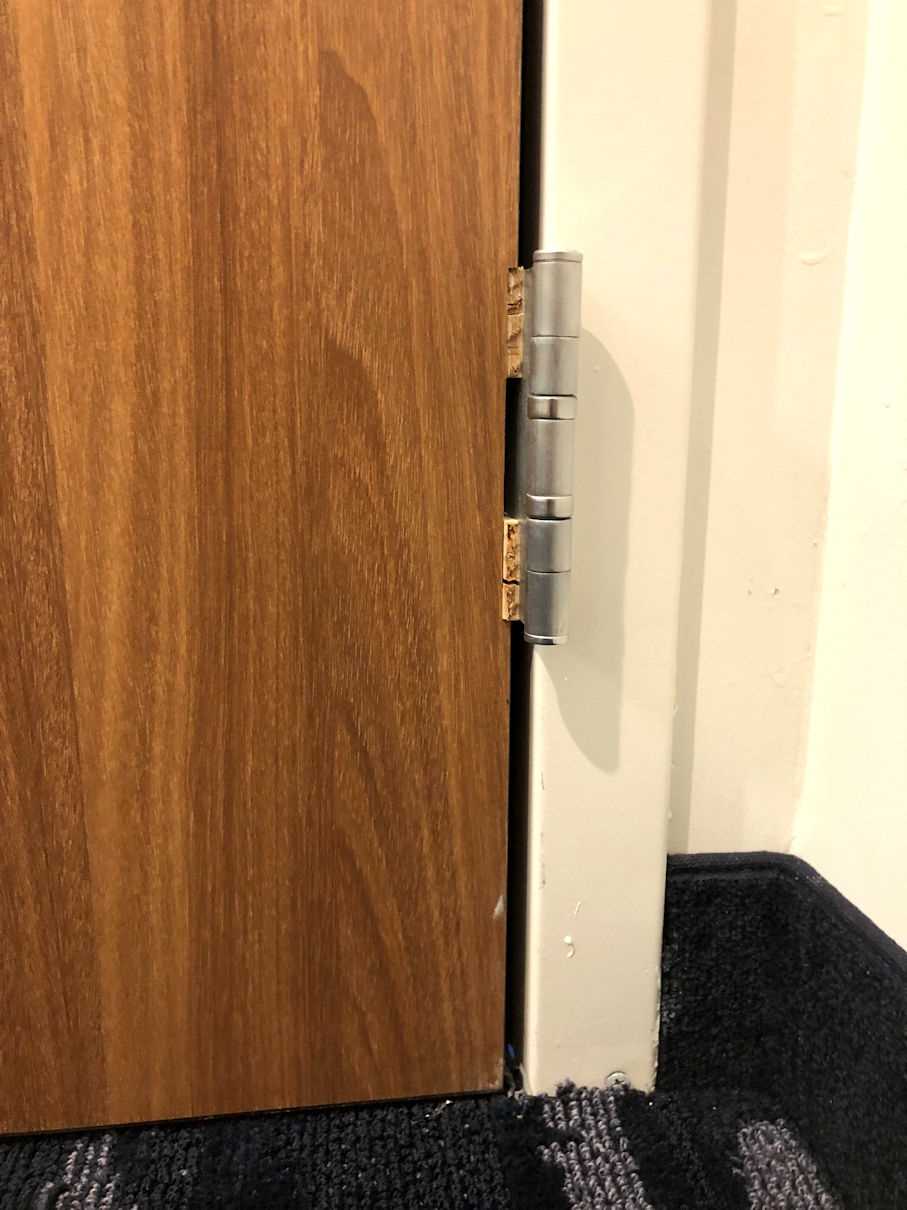
Door shims are small plastic or wooden wedges that are used during the installation of doors to make adjustments and ensure proper alignment and leveling. They are typically placed between the door frame and the wall studs or floor to fill gaps and provide support.
Door shims are commonly used to adjust the positioning of a door within its frame. They can be used to correct any gaps between the door and the frame, ensuring a tight fit and preventing drafts or air leakage. The shims can also be used to level the door, ensuring that it opens and closes smoothly without any sticking or rubbing.
Door shims are available in various sizes and thicknesses to accommodate different types of doors and gaps. They are typically made from plastic or wood, with plastic shims being more common due to their durability and resistance to moisture. Plastic shims are also easier to adjust and remove if necessary.
During the installation process, door shims are inserted into the gaps between the door frame and the wall studs or floor. They are strategically placed at multiple points around the frame to provide even support and alignment. The shims can be adjusted by tapping them with a hammer or pry bar until the desired level and alignment are achieved.
Once the door is properly aligned and leveled, the shims can be trimmed to size and secured in place using screws or nails. This ensures that the door remains in the desired position and does not shift over time.
In summary, door shims are essential tools for the proper installation of doors. They allow for adjustments and ensure proper alignment, leveling, and support. Whether made from plastic or wood, door shims play a crucial role in creating a secure and functional doorway.
Importance of Door Shims
When it comes to the installation and adjustment of doors, door shims play a crucial role. These small plastic or wood pieces are used to level and adjust the door during the installation process. They help in creating a proper fit and eliminating any gaps between the door and the frame.
One of the main reasons why door shims are important is because they help in leveling the door. During the installation process, it is common for the door frame to be slightly uneven or not perfectly square. This can result in a door that doesn’t close properly or has gaps around the edges. Door shims are used to fill these gaps and ensure that the door is level and functions correctly.
Another important aspect of door shims is their ability to adjust the positioning of the door. Sometimes, the door may need to be adjusted slightly to align properly with the frame. Door shims can be inserted at specific points to push or pull the door into the desired position. This allows for precise adjustments and ensures that the door operates smoothly.
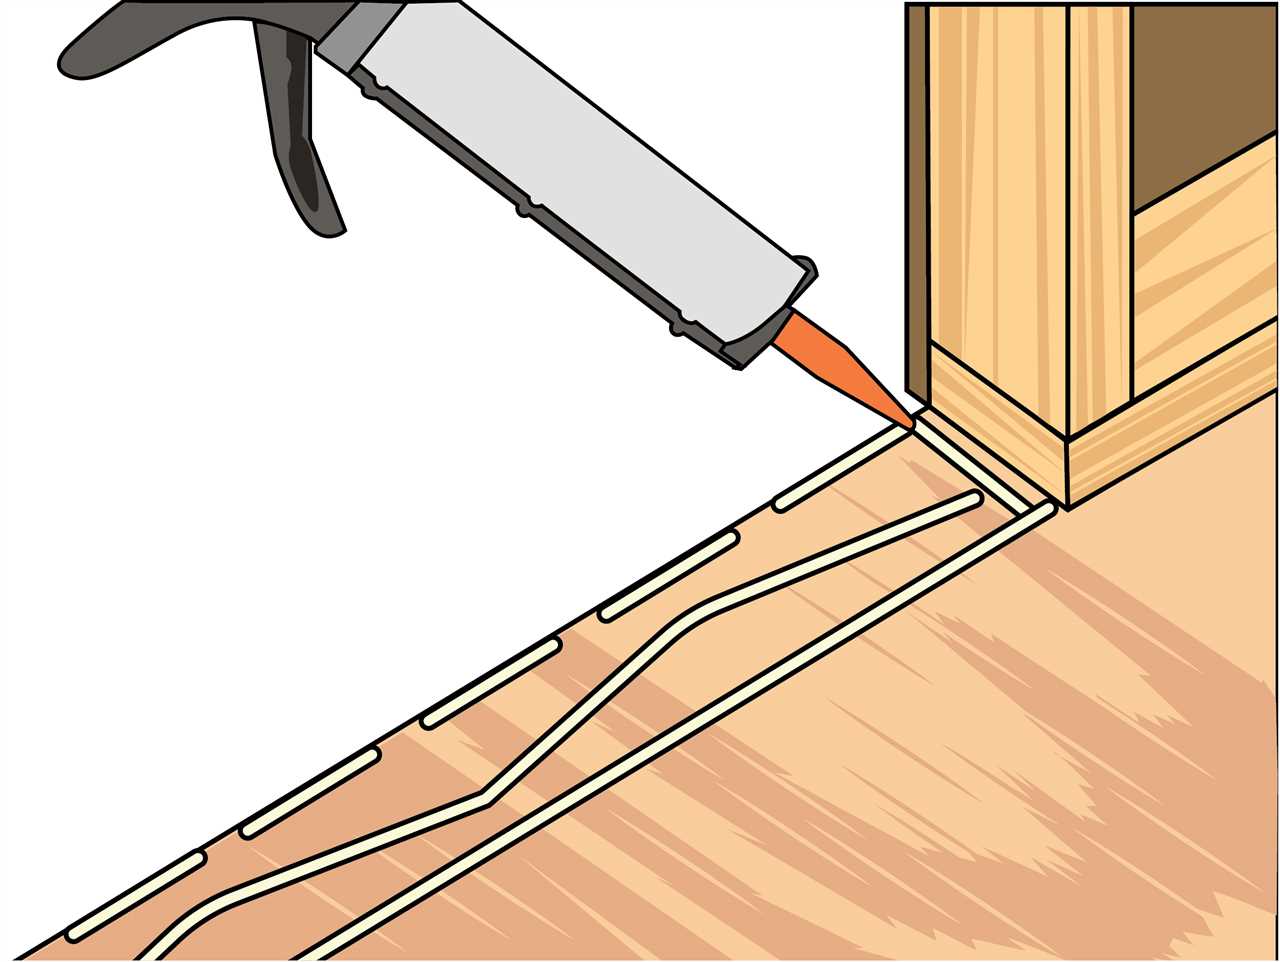
Door shims also help in creating a tight seal between the door and the frame. Gaps between the door and the frame can allow drafts, noise, and even insects to enter the space. By using door shims to eliminate these gaps, you can improve the energy efficiency of the room and create a more comfortable living environment.
In summary, door shims are an essential component of door installation and adjustment. They help in leveling the door, adjusting its position, and creating a tight seal. By using door shims, you can ensure that your door functions properly and provides the desired security and insulation.
Common Types of Door Shims
When it comes to adjusting and installing doors, door shims are an essential tool. They are used to fill gaps and provide support for proper alignment and leveling. There are several types of door shims available, each with its own advantages and uses.
1. Plastic Shims

Plastic shims are the most common type of door shim and are widely used due to their affordability and versatility. They are made from durable plastic materials and can be easily cut to the desired size. Plastic shims are resistant to moisture and can withstand the weight of the door without compressing or warping. They are ideal for leveling and aligning doors during installation.
2. Wood Shims
Wood shims are another popular choice for door adjustments. They are typically made from cedar or pine and provide excellent support and stability. Wood shims are strong and can withstand heavy loads, making them suitable for larger and heavier doors. They can be easily trimmed or shaped to fit the specific gap or angle. However, wood shims may be prone to moisture damage and should be treated or sealed to prevent rotting or warping.
3. Composite Shims
Composite shims are a combination of plastic and wood materials, offering the best of both worlds. They are durable, moisture-resistant, and provide excellent support for door installations. Composite shims are easy to cut and shape, making them suitable for various gap sizes and door alignments. They are an excellent choice for both interior and exterior doors.
4. Metal Shims
Metal shims, usually made from stainless steel or aluminum, are less common but offer exceptional strength and durability. They are ideal for heavy-duty applications or situations where extreme precision is required. Metal shims are resistant to compression and can withstand high loads without bending or warping. They are often used in commercial or industrial settings where doors are subjected to heavy use and require precise alignment.
5. Tapered Shims
Tapered shims are specifically designed to fill larger gaps and provide gradual adjustments. They are wider at one end and taper down to a thinner edge, allowing for precise leveling and alignment. Tapered shims are commonly used for exterior doors or uneven surfaces where a standard shim may not provide sufficient support. They can be made from plastic, wood, or composite materials.
When choosing a door shim, consider the weight and size of the door, the gap that needs to be filled, and the specific requirements of the installation. It’s important to use shims that are strong, durable, and resistant to moisture to ensure long-lasting door adjustments and proper alignment.
How to Use Door Shims
1. Preparation
Before starting the installation process, gather all the necessary tools and materials, including shims, screws, a drill, a level, and a hammer. Make sure the door frame is clean and free from any obstructions.
2. Alignment
Place the door in the opening and use a level to ensure it is aligned properly. Check both the vertical and horizontal alignment to ensure the door is level and plumb. Adjust the position of the door as needed.
3. Inserting Shims
Start by inserting shims between the door frame and the rough opening. Begin at the hinge side and work your way towards the latch side. Place the shims evenly spaced along the height of the door frame.
4. Leveling
Use a level to check the vertical alignment of the door frame. Insert additional shims as needed to level the door frame. Tap the shims gently with a hammer to secure them in place.
5. Adjusting the Gap
Check the gap between the door and the frame. If the gap is uneven, adjust the shims accordingly to create an even gap around the entire door. This will ensure proper clearance for the door to open and close smoothly.
6. Securing the Door
Once the shims are properly positioned, use a drill to insert screws through the shims and into the door frame. This will secure the door in place. Be careful not to overtighten the screws, as this may cause the door frame to warp.
7. Finishing Touches

After the door is securely installed, remove any excess shims that may be sticking out. Use a utility knife or saw to trim the shims flush with the door frame. This will give the installation a clean and professional appearance.
8. Final Check
Once the installation is complete, double-check the alignment, leveling, and gap to ensure everything is correct. Open and close the door to make sure it operates smoothly and without any obstructions. Make any necessary adjustments if needed.
By following these steps, you can effectively use door shims to install a door and ensure proper alignment, leveling, and gap adjustment.
Preparing the Door Frame
Before installing a door, it is important to properly prepare the door frame to ensure proper alignment and a secure installation. This involves using door shims, which are thin pieces of material used to fill gaps and provide stability.
Materials Needed:
- Wooden shims
- Plastic shims
- Hammer
- Level
Step 1: Inspect the Door Frame
Start by inspecting the door frame for any damage or unevenness. If there are any major issues, they should be addressed before proceeding with the installation.
Step 2: Level the Door Frame
Using a level, check the vertical and horizontal alignment of the door frame. If the frame is not level, adjustments will need to be made before proceeding. This can be done by adding or removing shims as necessary.
Step 3: Determine the Gap
Measure the gap between the door and the frame. This will help determine the size and number of shims needed for proper installation. It is important to ensure that the gap is consistent along the entire frame.
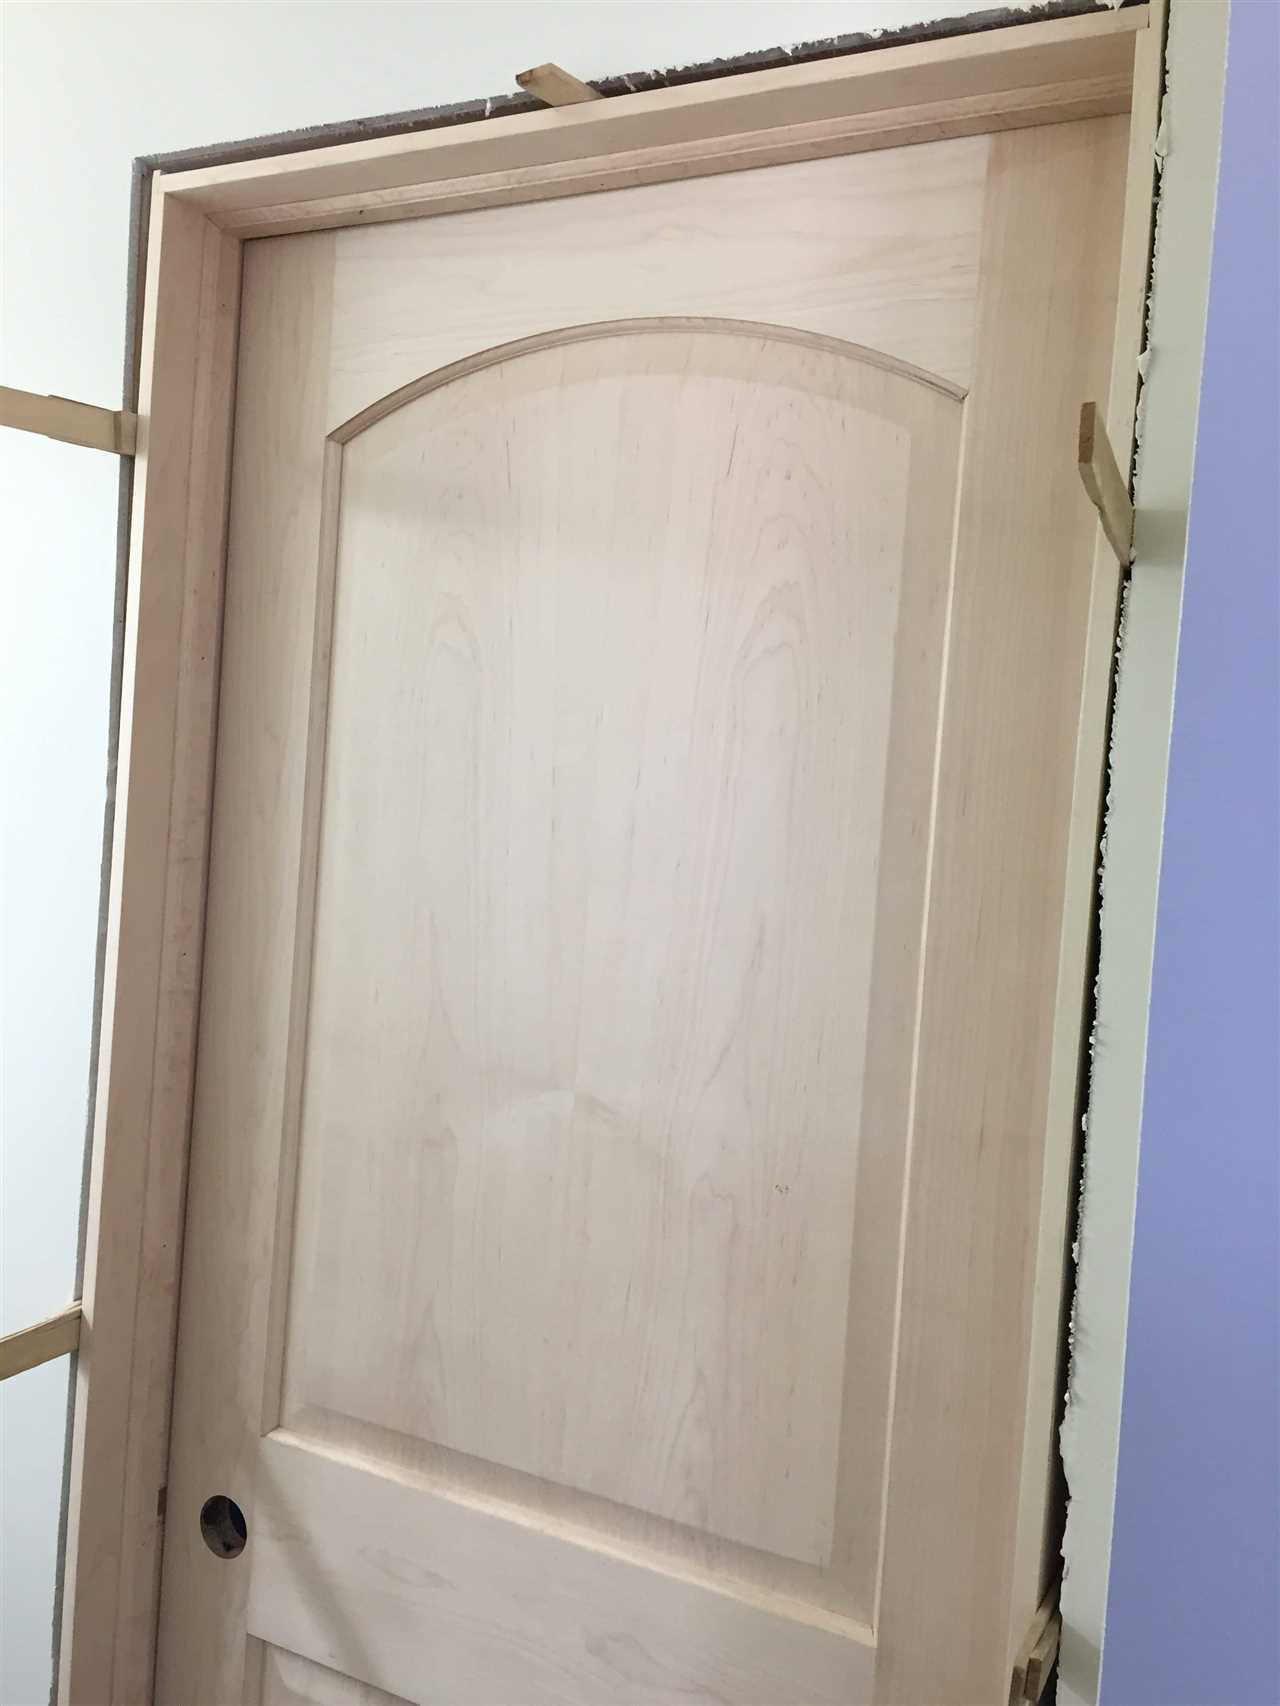
Step 4: Install the Shims
Begin by inserting wooden shims into the gap between the door frame and the wall. Start at the hinge side of the door and work your way towards the latch side. Use a hammer to gently tap the shims into place, ensuring that they are snug and secure.
Plastic shims can also be used, especially in areas where moisture may be a concern. These shims are resistant to rot and can provide added stability.
Step 5: Check for Leveling

Once the shims are installed, check the level of the door frame again to ensure that it is properly aligned. Make any necessary adjustments by adding or removing shims as needed.
Step 6: Secure the Door Frame

Once the door frame is properly aligned and leveled, secure it in place using screws or nails. Be sure to follow the manufacturer’s instructions for the specific door and frame you are installing.
Step 7: Test the Door
After securing the door frame, test the door to ensure that it opens and closes smoothly. Make any additional adjustments if necessary.
By properly preparing the door frame and using shims, you can ensure a secure and properly aligned door installation.
Video:Everything You Need to Know About Door Shims | The Ultimate Guide
Hello, I am Beverly J. Sanders, the voice behind the diverse articles you come across on styves.co.za. My passion lies in exploring the nuances of home improvement and sharing tips that can help you transform your living space into a haven of comfort and style. From the latest trends in home decor to practical cleaning advice, I cover a broad spectrum of topics to cater to a wide variety of interests.
In my recent works, I have delved into the advantages of incorporating a horizontal Murphy bed into your home to save space without compromising on design and functionality. I also explored the benefits of having a free-standing electric fireplace that not only adds warmth to your home but also brings a sleek and modern design to any living space. My articles are a rich resource, offering insights into different products and home improvement strategies that can enhance the quality of your life.
I believe in the power of details; a belief that reflects in my comprehensive guides where I discuss even the overlooked aspects of home decor, such as the impact of baseboard trim in enhancing the overall look and feel of your home. I am constantly on the lookout for innovative solutions and products that can add value to your home and life.
Join me in my exploration as I continue to bring you the latest trends, tips, and insights in the home improvement world. Let’s create a home that is not just a place to live, but a reflection of style and personality.