Contents
- 1 Wood Steps A Guide to Building and Installing Wooden Stairs
- 1.1 Section 1: Preparing for the Project
- 1.2 Section 2: Building and Installing the Wooden Stairs
- 1.3 Video:Wood Steps A Guide to Building and Installing Wooden Stairs
- 1.3.1 Ingenious Woodworking Techniques And Skills Easy – Build And Install A Wooden Staircase Step By Step
- 1.3.2 HOW TO BUILD STAIRS // EXTERIOR STEPS
- 1.3.3 Woodworking Techniques For Stairs You’ve Never Seen // Build & Install Wooden Steps For New Stairs
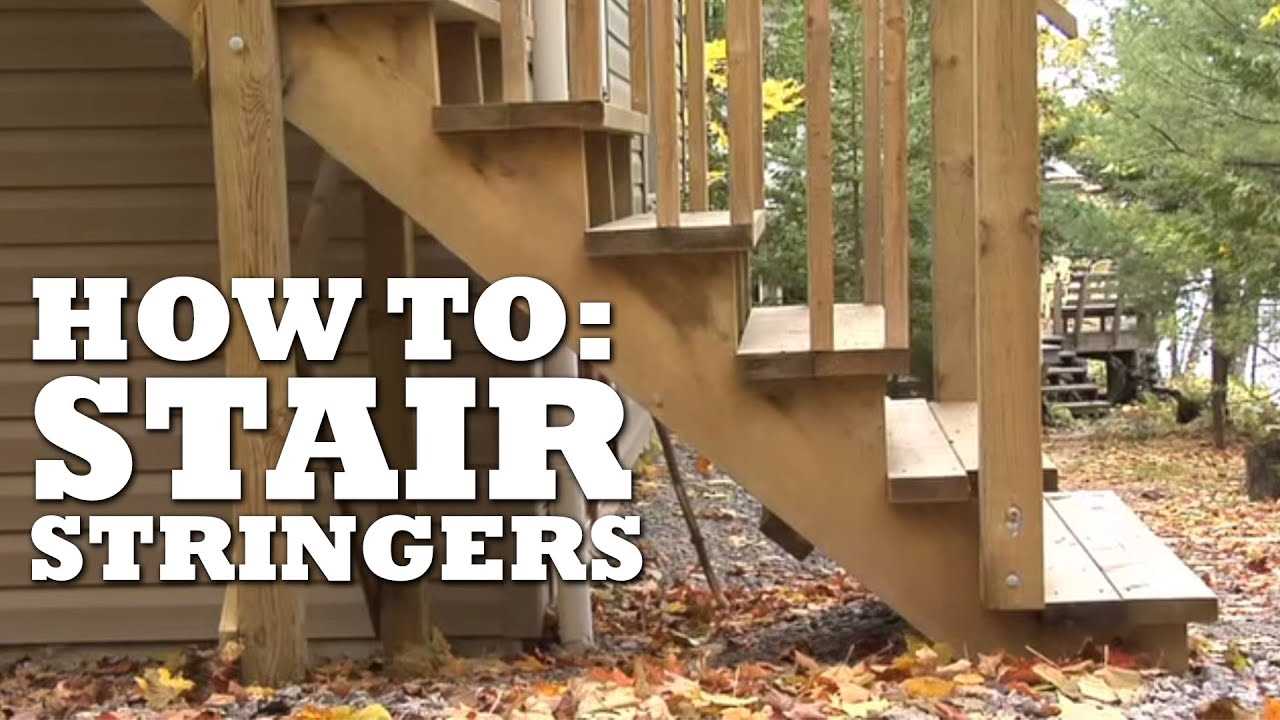
- 1.3.4 The Easiest Way to Build Stairs || Stair Stringers are Easy
Wood Steps A Guide to Building and Installing Wooden Stairs

Wooden stairs are not only functional but also add a touch of elegance to any space. Whether you are renovating your home or building a new one, knowing how to build and install wooden stairs is a valuable skill. In this guide, we will walk you through the process of creating sturdy and beautiful wood steps.
One of the essential components of wooden stairs is the handrail. The handrail provides support and ensures the safety of those using the stairs. We will discuss different handrail designs and materials, helping you choose the one that suits your style and needs.
Another crucial aspect of wooden stairs is the choice of flooring. The flooring material you select for your stairs can greatly impact their durability and aesthetics. We will explore various options, such as hardwood, laminate, and carpet, and provide tips on how to install them properly.
Carpentry plays a significant role in building wooden stairs. From measuring and cutting the treads and risers to assembling the balustrade, carpentry skills are essential for achieving a precise and secure staircase. We will share step-by-step instructions and useful tips to help you master the art of carpentry for stairs.
Section 1: Preparing for the Project
Before starting the construction of wooden stairs, it is important to properly prepare for the project. This involves gathering the necessary materials and tools, as well as taking measurements and planning the layout of the stairs.
1. Gather Materials:
First, gather all the materials needed for building the wooden stairs. This includes the flooring for the treads, risers, and any other necessary components. Choose a durable and visually appealing wood that suits your preferences and the overall design of your home.
2. Measure and Plan:
Measure the space where the stairs will be installed, taking into account the height, width, and length of the stairs. This will help determine the number of steps needed and the overall size of the staircase. Create a detailed plan, including the dimensions and layout of the stairs.
3. Determine the Balustrade and Handrail:
Decide on the type of balustrade and handrail you want for your wooden stairs. The balustrade refers to the system of rails, newels, and balusters that provide support and safety. Choose a design that complements the style of your home and meets building codes and regulations.
4. Acquire Carpentry Tools:
Make sure you have all the necessary carpentry tools for the project. This may include a circular saw, power drill, chisels, hammer, tape measure, level, and various other hand tools. Having the right tools will make the construction process easier and more efficient.
5. Prepare the Treads and Risers:
If the treads and risers are not pre-cut, measure and cut them to the appropriate size. Ensure that they are all uniform in size and shape to create a visually appealing staircase. Sand the edges and surfaces of the treads and risers to create a smooth finish.
6. Organize the Work Area:
Before beginning the construction, organize your work area. Clear away any debris or obstacles that may hinder the construction process. Set up a sturdy workbench or table to use as a workspace for cutting and assembling the wooden stairs.
By properly preparing for the project, you can ensure a smooth and successful construction process for your wooden stairs. Taking the time to gather materials, measure and plan, and acquire the necessary tools will set the foundation for a well-built and visually appealing staircase.
Gathering Materials and Tools

Before you start building and installing wooden stairs, it’s important to gather all the necessary materials and tools. Here is a list of items you will need:
- Risers and Treads: These are the main components of the stairs that you will be building. Risers are the vertical boards that go between each step, while treads are the horizontal boards that you step on.
- Handrail: A handrail is an important safety feature for stairs, providing support and stability. You will need a handrail to install along the stairs.
- Carpentry Tools: To build and install the wooden stairs, you will need a variety of carpentry tools, including a measuring tape, level, circular saw, jigsaw, hammer, screwdriver, and drill.
- Flooring: Depending on the type of stairs you are building, you may need additional flooring materials such as hardwood, laminate, or carpet to cover the treads.
- Steps: Steps are the individual pieces that make up the staircase. They can be made of wood or other materials, and you will need enough steps to cover the entire staircase.
- Balustrade: A balustrade is a row of balusters or spindles that support the handrail. You may need a balustrade to complete the look and functionality of your wooden stairs.
Once you have gathered all the necessary materials and tools, you will be ready to start building and installing your wooden stairs. Make sure to follow proper safety precautions and consult a professional if needed.
Taking Accurate Measurements

Before starting any construction project, it is crucial to take accurate measurements. This is especially true when it comes to building wooden steps, as any miscalculations can result in uneven steps or a handrail that doesn’t align properly with the balustrade. Here are some steps to follow when taking measurements for your stairs:
- Measure the total height: Start by measuring the total height from the finished flooring at the bottom to the finished flooring at the top. This will give you the overall height that your stairs need to reach.
- Determine the number of steps: Divide the total height by the desired height of each step to calculate the number of steps needed. Remember to take into account the thickness of the treads and risers when calculating the step height.
- Measure the width: Measure the width of the area where the stairs will be installed. This will determine the width of each step and the overall width of the staircase.
- Calculate the tread and riser dimensions: Divide the total height by the number of steps to calculate the height of each riser. Then, subtract the desired riser height from the total height to determine the height of the treads. Additionally, consider the desired depth of each tread for comfortable foot placement.
Once you have taken these measurements, you can use them to create a detailed plan for your carpentry project. This plan will serve as a guide for cutting and assembling the wooden steps, handrail, and balustrade. Remember to double-check your measurements before making any cuts to ensure accuracy and precision in your construction.
Designing the Staircase Layout

Designing the layout of your wooden staircase is an important step in the process of building and installing stairs. The layout will determine the size, shape, and overall design of your stairs, so careful planning is essential.
Here are some key considerations when designing your staircase layout:
- Number of steps: Determine the number of steps you need based on the height of your floor to floor distance. This will depend on local building codes and regulations.
- Handrail: Decide whether you want a handrail on one or both sides of the stairs. The handrail provides support and safety while ascending or descending the stairs.
- Flooring: Consider the type of flooring you will be using on the stairs. This will help determine the dimensions and materials needed for the treads and risers.
- Balustrade: Determine if you want a balustrade system for your stairs. A balustrade consists of the handrail, balusters, and newel posts, and can add style and elegance to your staircase.
- Risers: Decide on the height and depth of the risers. The risers are the vertical components of the stairs and should be consistent in size for safety and comfort.
During the design process, it is important to consult with a professional carpenter or staircase designer who can provide guidance and expertise. They can help ensure that your staircase layout meets building codes and regulations, as well as your aesthetic preferences.
Once the design is finalized, you can proceed with the construction and installation of your wooden stairs, following the layout and dimensions determined during the design phase.
| Step Number | Riser Height | Tread Depth |
|---|---|---|
| 1 | 7 inches | 10 inches |
| 2 | 7 inches | 10 inches |
| 3 | 7 inches | 10 inches |
Remember, designing the staircase layout is a crucial step in the process of building and installing wooden stairs. Take your time to carefully plan and consider all the factors involved to ensure a safe and aesthetically pleasing staircase.
Section 2: Building and Installing the Wooden Stairs

Once the flooring is complete, it’s time to move on to the carpentry work involved in building and installing the wooden stairs. Follow these steps to ensure a sturdy and attractive staircase:
- Measure and plan: Start by measuring the height and width of the area where the stairs will be installed. Use these measurements to determine the number of steps needed and the size of each step. Plan the layout of the stairs, considering the available space and any regulations or building codes that may apply.
- Prepare the materials: Gather all the necessary materials for building the stairs, including wood for the treads, risers, and stringers. Choose a high-quality wood that is both durable and visually appealing.
- Construct the stringers: Start by building the stringers, which are the support structures that hold the treads and risers in place. Use a table saw to cut the stringers according to the planned measurements. Ensure that the stringers are level and securely attached to the flooring.
- Install the treads and risers: Attach the treads and risers to the stringers using screws or nails. Make sure they are evenly spaced and securely fastened. Consider adding a decorative touch to the treads, such as a bullnose edge or a routed design.
- Add a balustrade and handrail: To enhance safety and aesthetics, install a balustrade and handrail along the sides of the stairs. Choose a design that complements the overall style of the space. Make sure the balustrade is securely attached and the handrail is at a comfortable height.
- Finishing touches: Once the stairs are built and installed, sand the wood surfaces to achieve a smooth finish. Apply a protective finish, such as varnish or paint, to enhance durability and appearance. Consider adding non-slip treads or a runner for added safety.
By following these steps, you can create a beautiful and functional set of wooden stairs that will enhance the overall look and usability of your space.
Video:Wood Steps A Guide to Building and Installing Wooden Stairs
Ingenious Woodworking Techniques And Skills Easy – Build And Install A Wooden Staircase Step By Step
HOW TO BUILD STAIRS // EXTERIOR STEPS
Woodworking Techniques For Stairs You’ve Never Seen // Build & Install Wooden Steps For New Stairs
The Easiest Way to Build Stairs || Stair Stringers are Easy
Hello, I am Beverly J. Sanders, the voice behind the diverse articles you come across on styves.co.za. My passion lies in exploring the nuances of home improvement and sharing tips that can help you transform your living space into a haven of comfort and style. From the latest trends in home decor to practical cleaning advice, I cover a broad spectrum of topics to cater to a wide variety of interests.
In my recent works, I have delved into the advantages of incorporating a horizontal Murphy bed into your home to save space without compromising on design and functionality. I also explored the benefits of having a free-standing electric fireplace that not only adds warmth to your home but also brings a sleek and modern design to any living space. My articles are a rich resource, offering insights into different products and home improvement strategies that can enhance the quality of your life.
I believe in the power of details; a belief that reflects in my comprehensive guides where I discuss even the overlooked aspects of home decor, such as the impact of baseboard trim in enhancing the overall look and feel of your home. I am constantly on the lookout for innovative solutions and products that can add value to your home and life.
Join me in my exploration as I continue to bring you the latest trends, tips, and insights in the home improvement world. Let’s create a home that is not just a place to live, but a reflection of style and personality.